

This stack isn’t about the nuts and bolts of taking an image from raw to finished file. This first steps diagram is about creating a logical and scalable system so you can find your precious images later on.
I’ll get into my basic workflow for the actual images another time soon. As always, if you have question about this subject or anything in the world of photography, drop me a line. If I can answer, I will. Pick my brain anytime. Learn from my mistakes and successes.
Now . . .
I don’t know about you, but when I go out with a mind to create images, I come back home with a lot more than I’ll ever use. Freed of the shackles of shooting film, I can create variations on the fly, often resulting in several hundred images on a good day out.
How do you make sense of that many images, decide which ones get further editing attention, which don’t and which ones are images you can publish, promote, or sell?
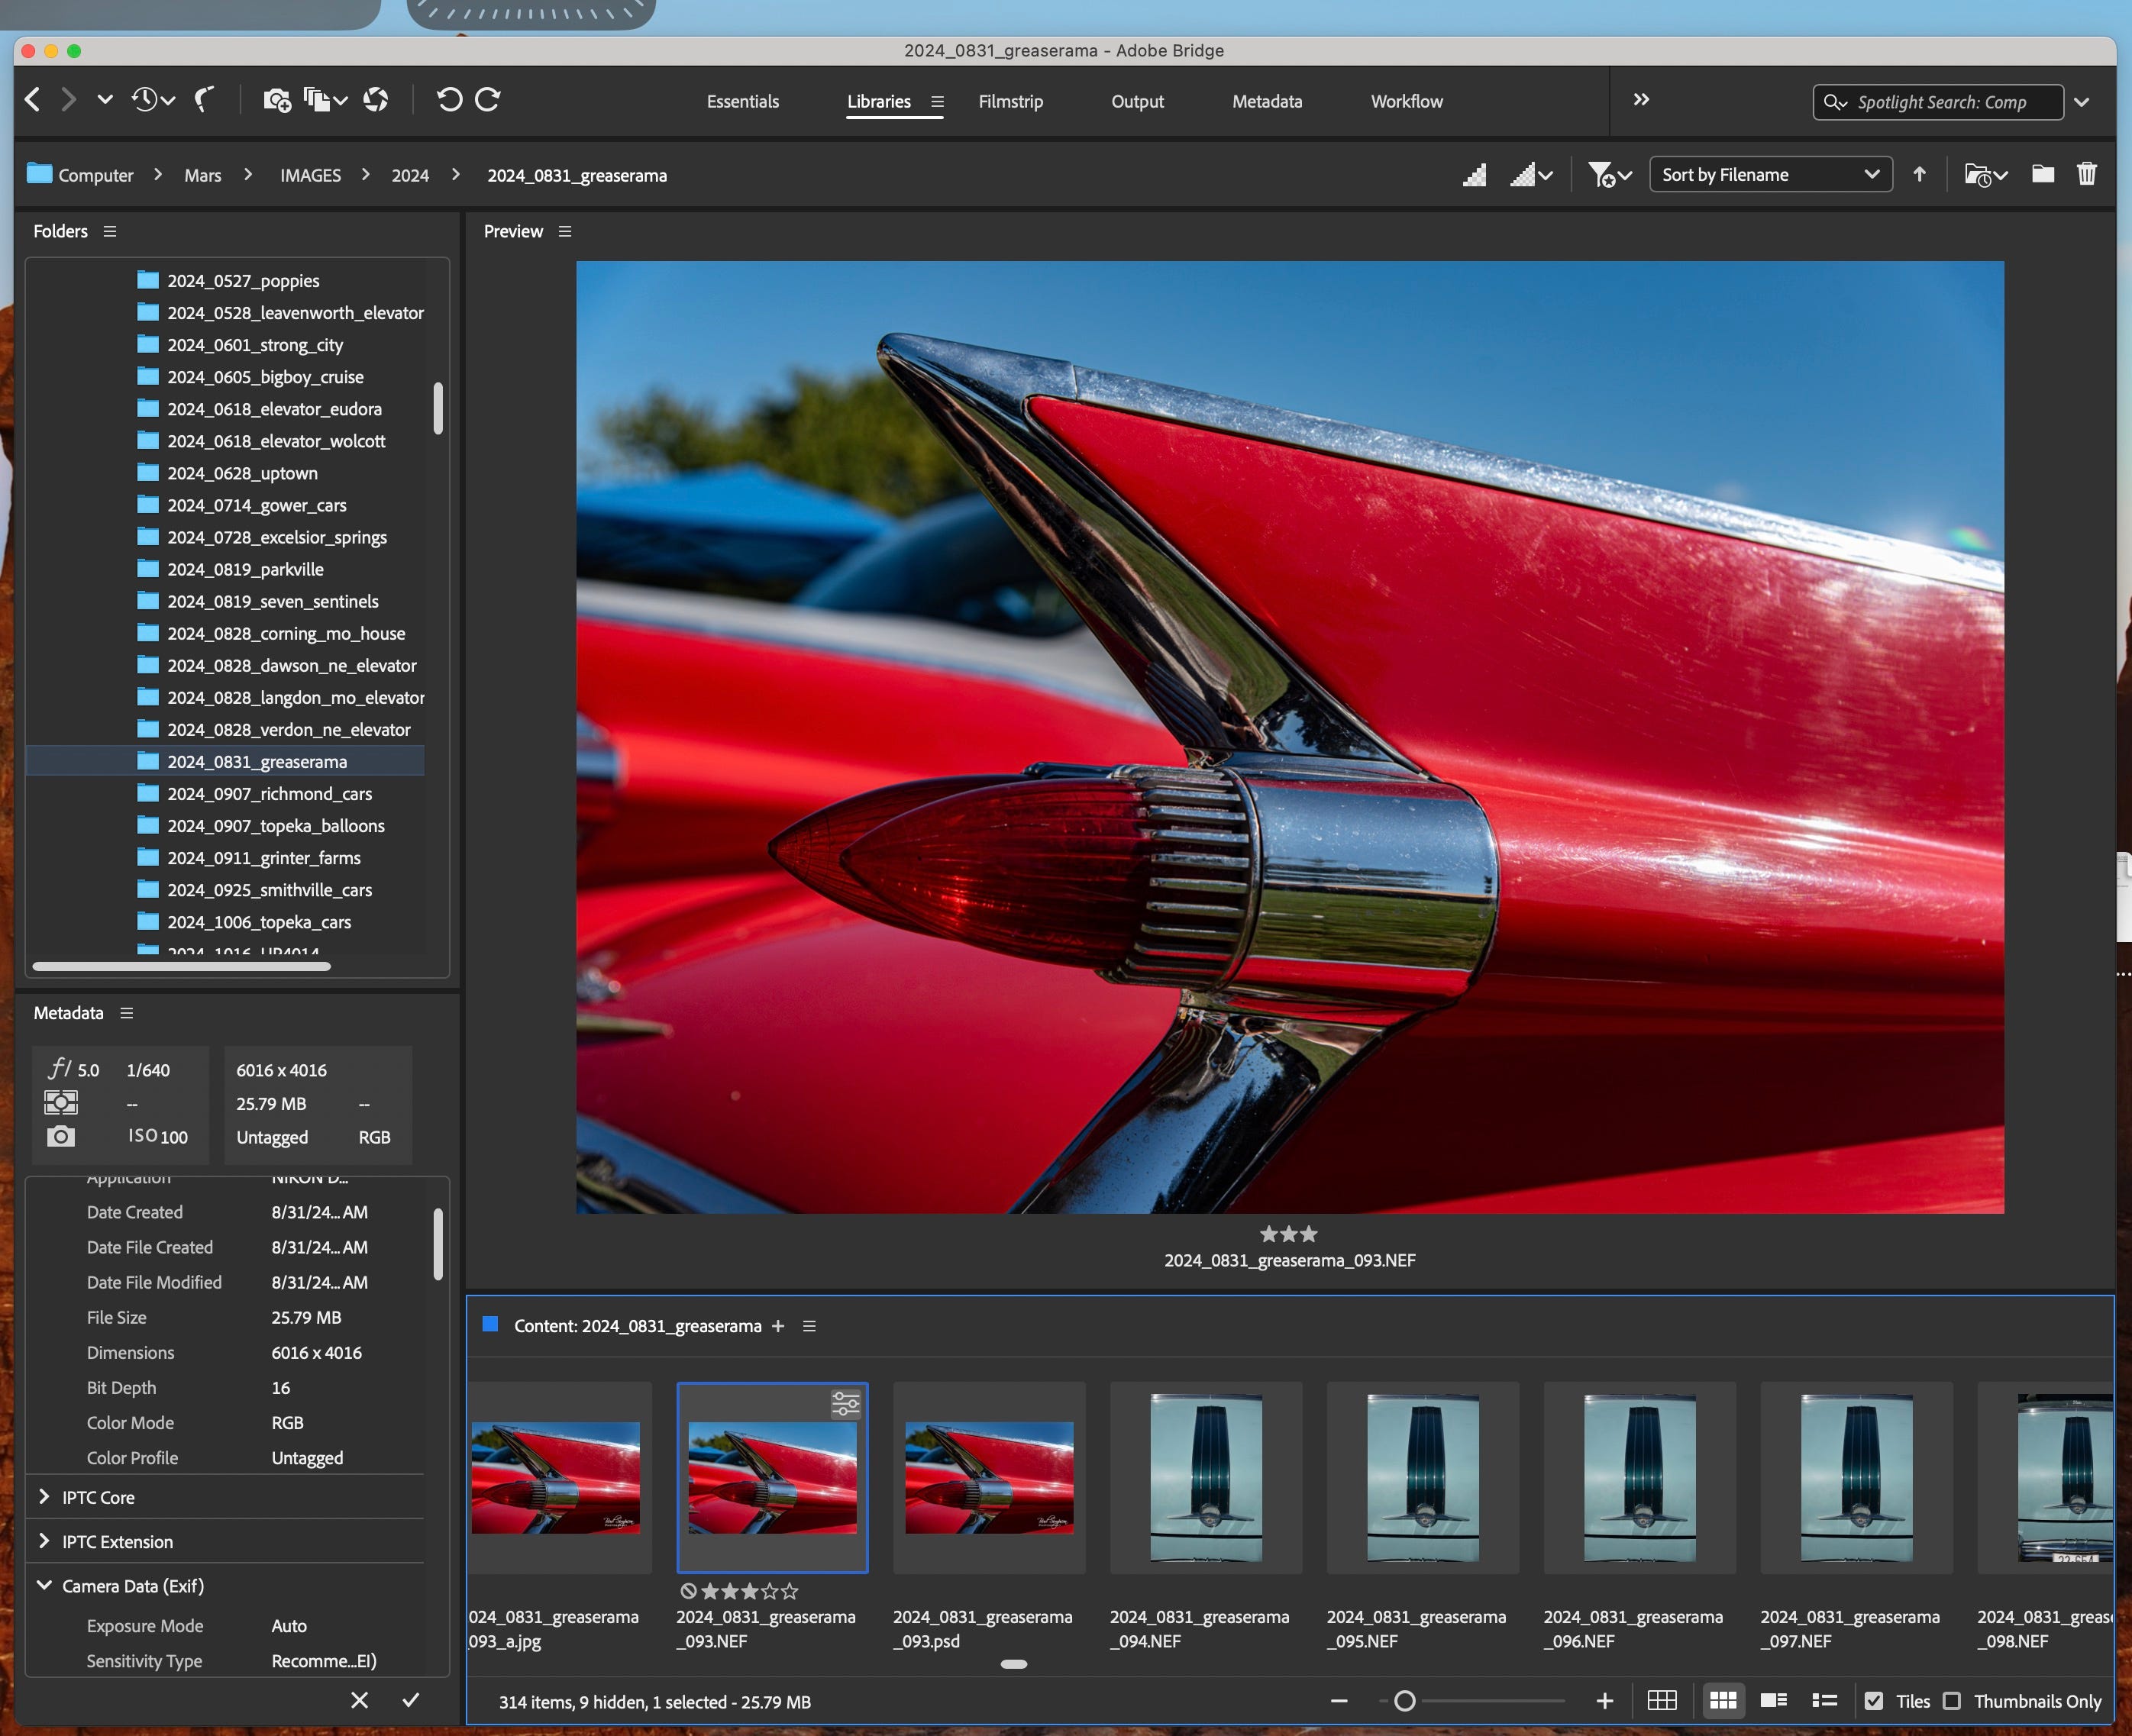
My standard workflow involves Adobe Photoshop Bridge - if you use Lightroom or another software suite to do your imaging, your mileage may vary, but there is likely an analog of this workflow that you can use - there just won’t be and Photoshop image files (PSD) to deal with. I have always liked pixel editing more than referenced files, and I'm willing to pay the price for disk space, so Photoshop it is.
First step is to get your images to your editing platform of choice. I use a 27” iMac with 64GB or RAM - not a powerhouse workstation, but good enough for what I do.
Naming:
I use a fairly scalable date-based system. After the images are downloaded to the hard drive - I use external drives, backed up both locally and to the cloud - they are assigned to a folder. If they were created today after a trip to a car show in Topeka, the folder might be named “2024_0922_topeka_cars”
In Bridge, I load that folder of images into Filmstrip Mode, and once I’ve done a quick scan looking for images of my feet (I often accidentally turn on my Nikon D750 as it’s slung over my shoulder. The shutter button hits me as I walk. The result is a collection of accidental images that I have been filing away for years.)
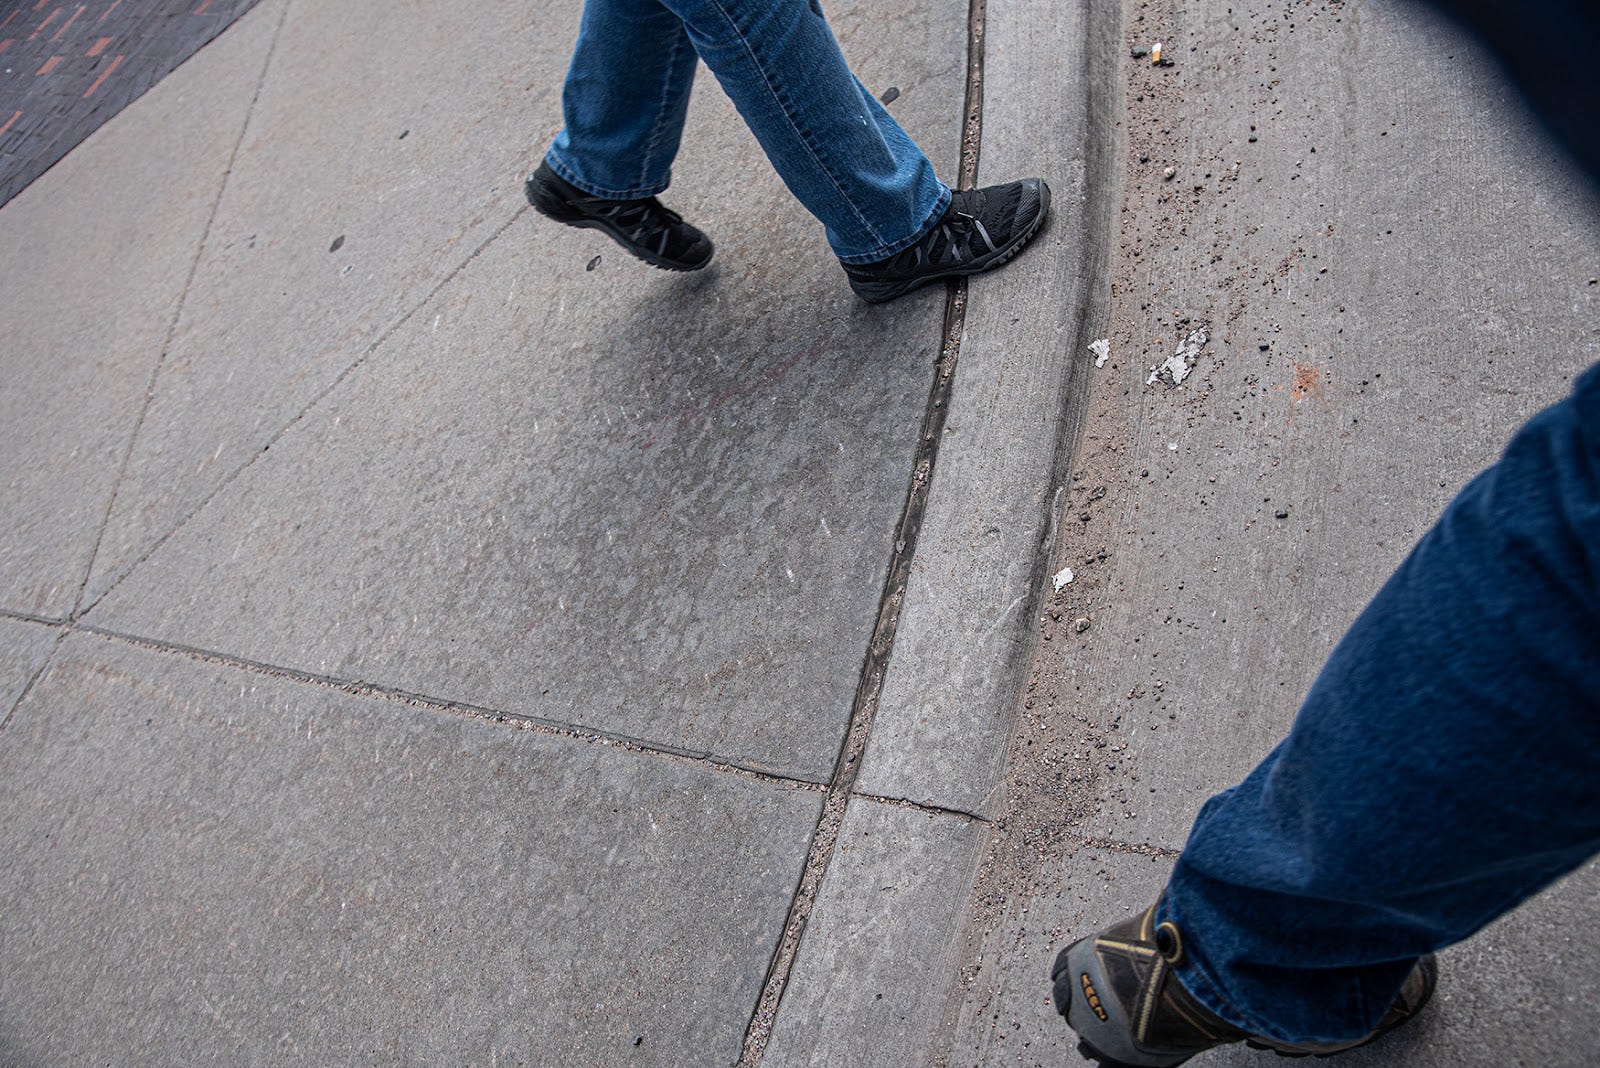
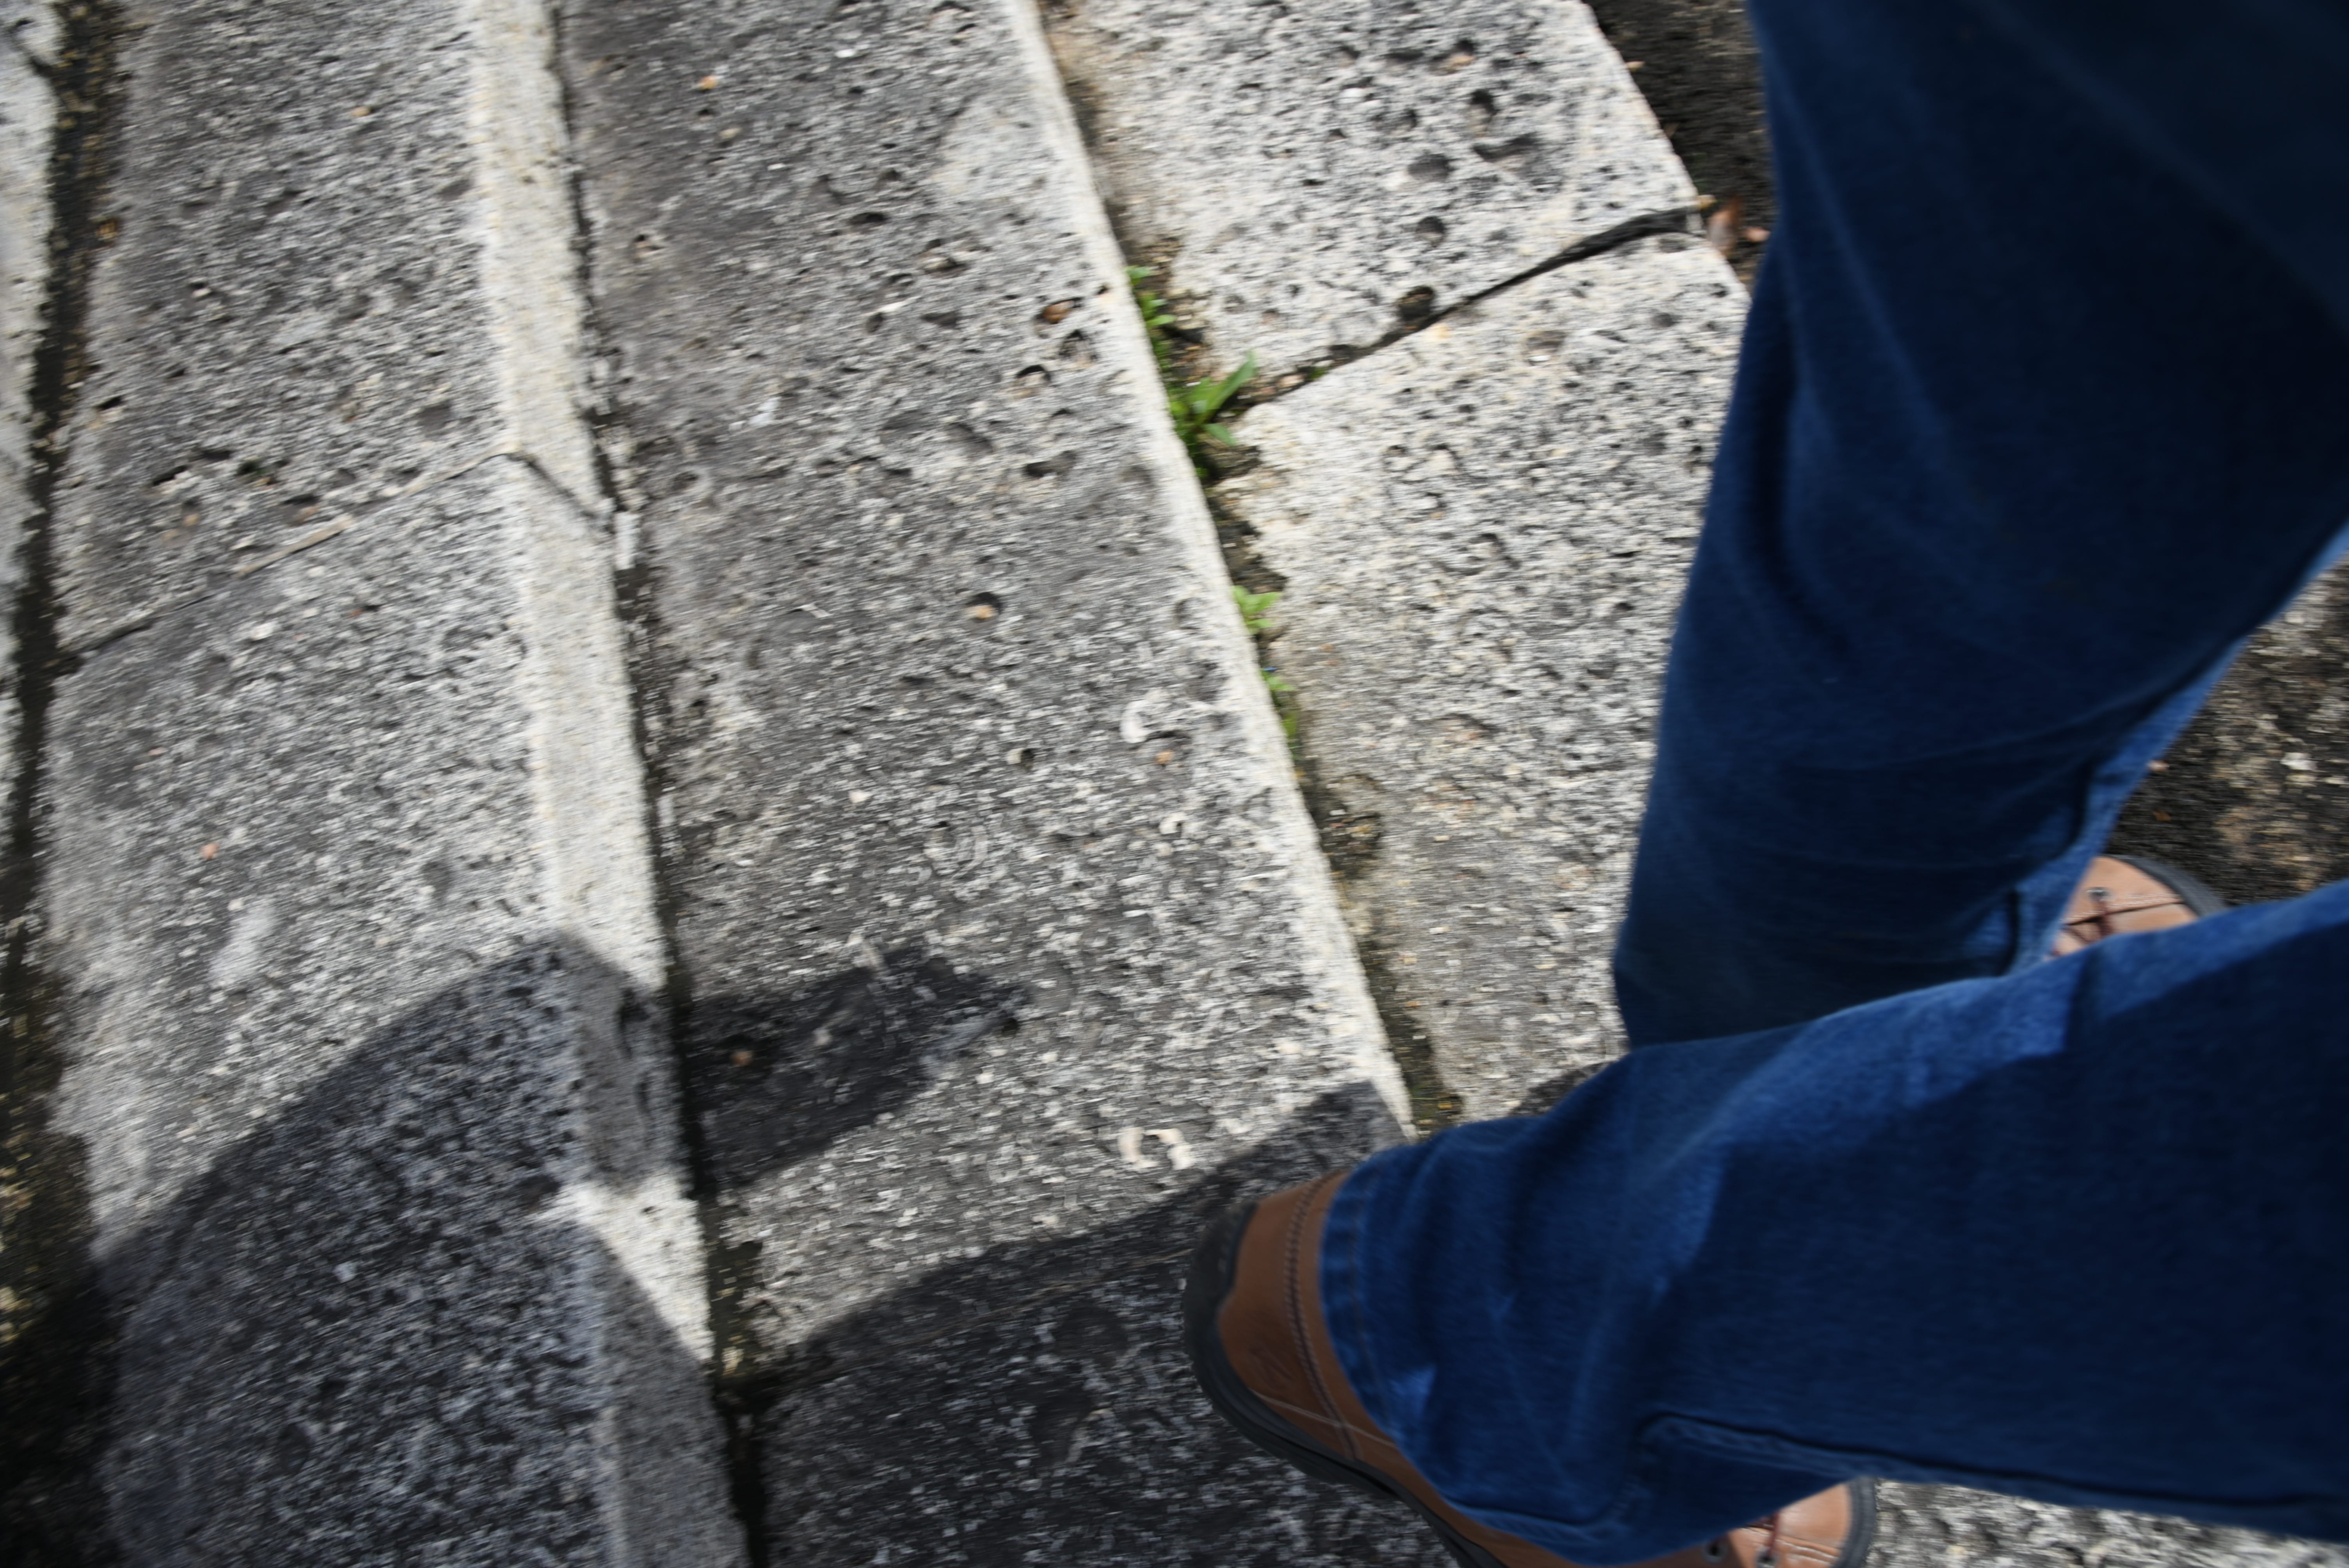
Anyway .. .
The editing process is pretty much as follows:
Move any stupid images to the “accidents” folder.
Batch rename the remaining images following the same protocols as the folder naming.
You can make your naming protocols as simple or as complex as you like, but getting into nit-picky naming up front (2024_0831_greaserama_red_cadillac_ right_fin_093.NEF) is just ponderous and way too complicated for a first edit. Save the specific naming for last steps.
I use keywording to further refine the organization. Command-I (Control-I in Windows) opens the preferences window where you can refine the data associated with the files, add keywording, creator and copyright information, and any number of other bits of information that will help define the image or help you to remember why you bothered to capture that image in the first place. Don’t laugh, sometimes, it isn’t that obvious when looking at the image.
After inserting keywords, I will go through and stack similar images, say, all images captured of a red Cadillac and then rate the best images of that stack.
I rate the images using the star method native to Bridge:
1 star - It’s snapshot quality
2 stars - It needs work, but has promise
3 stars - Good enough for wide distribution on social media
4 stars - Process through for portfolio and prints
5 stars - Promote this image vigorously. It has earnings and branding potential.
P.S. This basic editing approach was appropriated (stolen) many years ago from Frasier Spiers’ approach to editing in the now-discontinued Apple Aperture software. It is an easy, fast, and scalable sorting and editing concept that will allow you to find any image in seconds, provided you’re consistent in applying it.
See, there’s always a catch. This one lands squarely in your lap. You have to do the work.
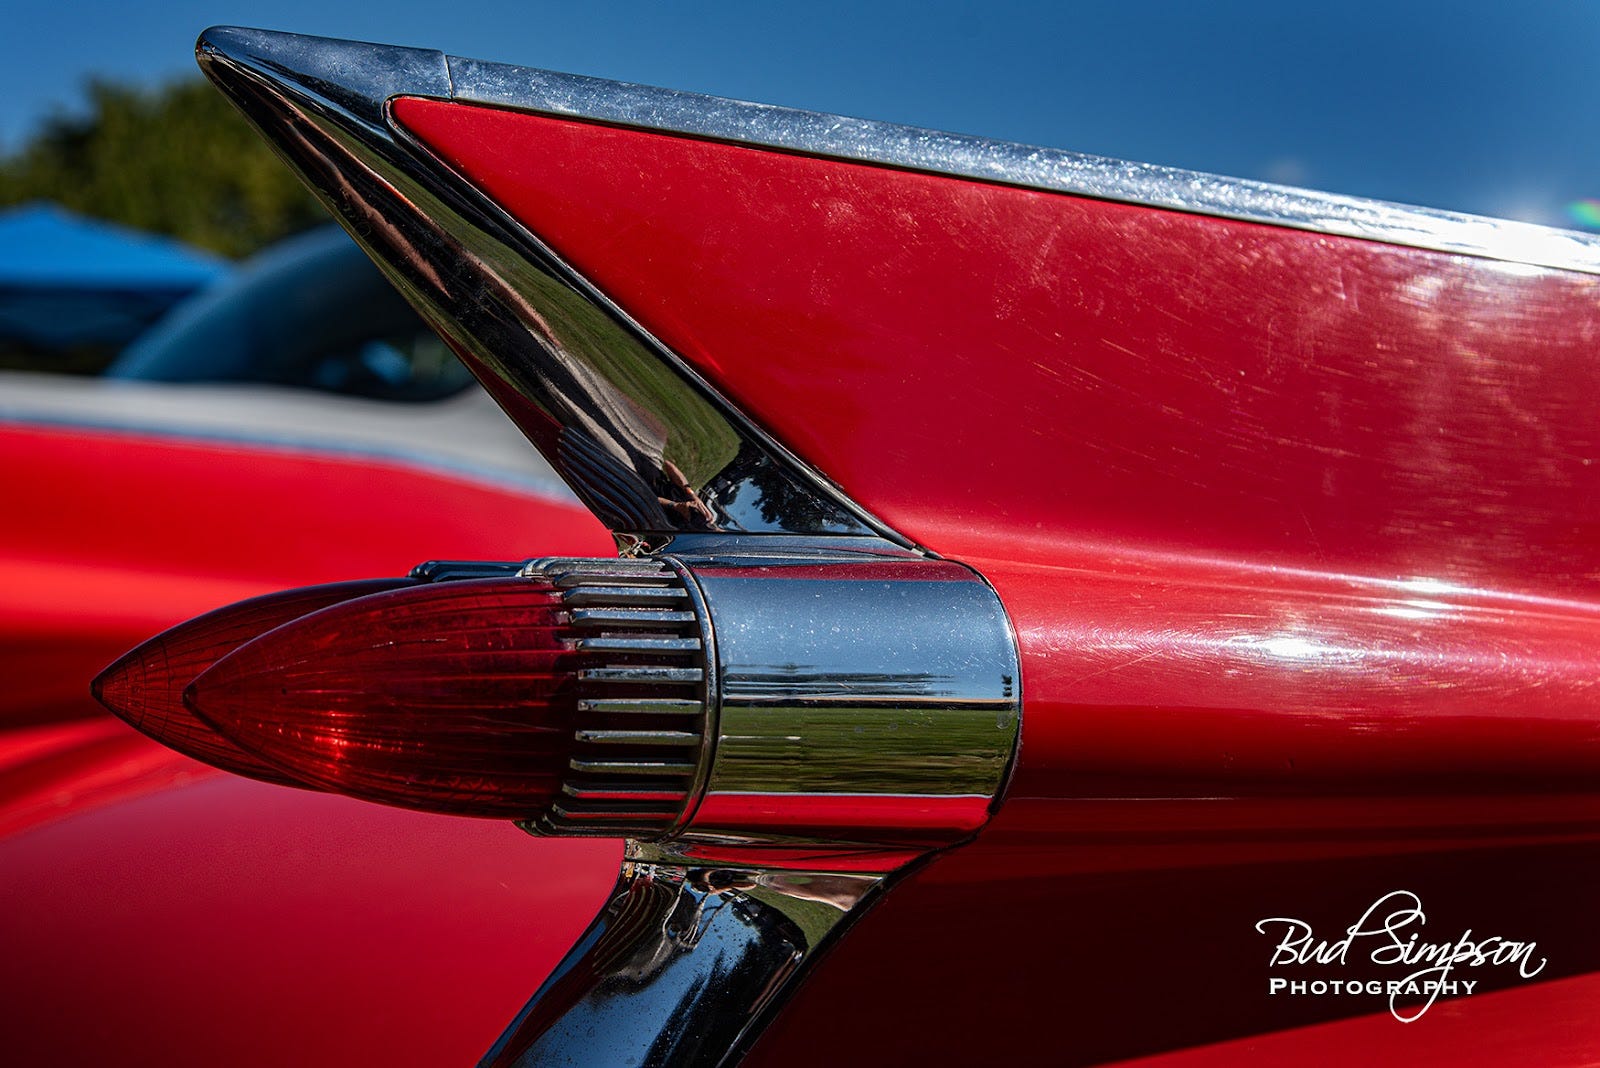
The payoff is that when you want to find that image of the red Cadillac, all you have to do is a simple search, and there it is. An image of a red Cadillac, this is the right fin we talked about. It’s rated three stars, by the way. Keywords include “cadillac, 1959, tailfin, red, chrome” all separated by commas.
Pro Tip: You have a couple zillion images on your phone? Export your those photos to your working hard drives, open them in Bridge, rename and sort them accordingly and you’ll always be able to locate them quickly. Then you can delete all but the images you want to easily access on your phone on a regular basis. You’re welcome.
Pro tip 2: All this naming, rating, and key-wording won’t mean jack shit if you lose your data. My working files are all backed up to two, redundant local hard drives and all of my archive drives - eight, at the last accounting, are backed up to the cloud using BackBlaze. This is wisdom garnered from the very recent loss of three - count them, three - entire years of images, including the first year that Kath and I started traveling full time. Thousands and thousands of images. An unmitigated disaster, but one that could easily have been avoided. I lost the originals of images like this one of the Superstition Mountains in Arizona:
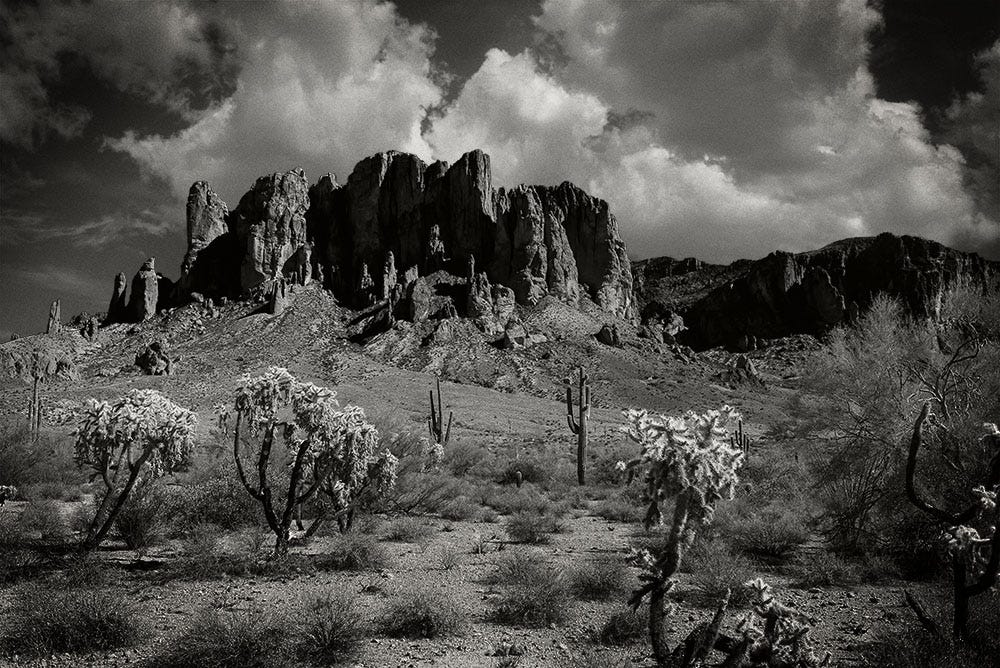
A lot of my images still survive on my print fulfillment site, and as web-sized jpegs, but my original, high-resolution raw files are all history.
Sometimes your purpose in life is to be a warning to others.
Now, go forth and create images you love.